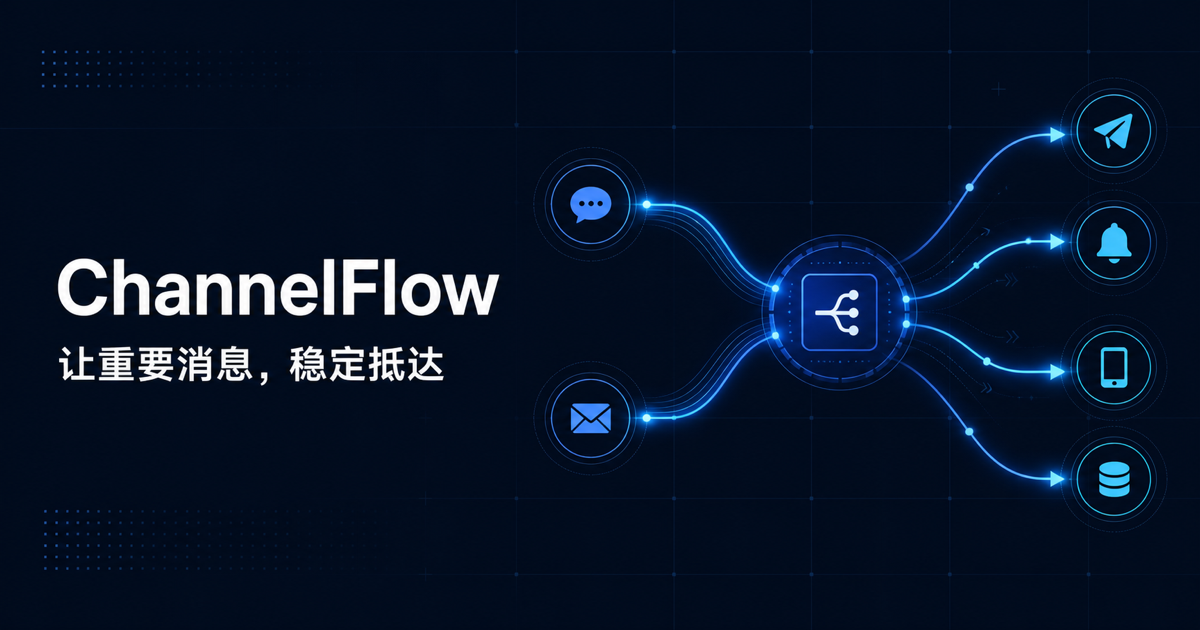
A private node lets a paid user run forwarding execution entirely on their own server. ChannelFlow continues to provide web configuration, the rule engine, and delivery records, while your Linux server runs the Node Agent, one listener container per source, and one node-scoped delivery container — both listening and delivery execute on your server.
An “Online” node only proves that the server enrolled successfully. You must also confirm that the source account connects and that a test message reaches the real destination.
Before you start
You need:
- An active ChannelFlow paid plan. Each paid user can currently create one private node.
- A Linux server you can access through SSH, with
rootorsudoprivileges. - Outbound access to HTTPS, Docker image and dependency sources, and each platform you plan to connect.
- At least 2 CPU cores, 2 GB RAM, and 10 GB free disk are recommended. Real capacity depends on traffic and media processing.
No new public inbound port is required. The installer can install the Debian/Ubuntu docker.io package; install and start Docker yourself on other distributions.
1. Create the private node
- Sign in to ChannelFlow and open “Forwarding instances”.
- Open “Instance settings” and find “My private execution node”.
- Enter a node name and region, then select “Create private node”.
- Copy the displayed Node ID, one-time enrollment key, and generated install command.
The enrollment key is shown in full only once. Do not put it in screenshots, chat rooms, tickets, or a public repository. If you lose it while the node is still Pending, regenerate it; the previous key becomes invalid immediately.
2. Run the install command on your server
Use “Copy install command” in the dashboard, SSH into the server, and paste it there. The command downloads the official installer, checks or installs Docker, builds the Node Agent, the selected listener images, and the delivery worker image, then privately prompts for the enrollment key.
Do not append the enrollment key to the command itself, because that may save it in shell history. Initial installation can take several minutes depending on network and build speed.
3. Confirm that the node is online
The dashboard status should change from Pending to Online. You can also check the server:
docker ps --filter name=channelflow-node-agent
docker ps --filter name=channelflow-delivery
docker logs --tail 50 channelflow-node-agent
After enrollment you should see the Node Agent plus one listener container per source. When the node has deliveries to run, the Agent also starts a node-scoped delivery container named channelflow-delivery-<Node ID>.
If it remains Pending, check access to https://channelflow.cc, Docker status, free disk space, and whether the enrollment key belongs to the displayed Node ID.
4. Assign an instance to the private node
When creating a forwarding instance, select your private node under “Execution node”. You can also assign an existing instance before it has created a Worker.
After the first Worker is created, placement is pinned. Existing Workers cannot be moved directly, and an offline node does not trigger automatic migration to another server. This prevents the same account from logging in on two servers at once.
5. Verify a real delivery
- Add a Discord, Telegram, QQ, or X source account.
- Add a destination and create a channel rule.
- Start or restart the instance and confirm the source is connected.
- Send a dedicated test message from the source.
- Check Delivery records and verify the message on the destination platform.
Both listening and delivery are executed by containers on your node; the platform keeps the rule engine, the outbox, and the delivery records.
Enrollment is complete only when the node is online, the source is connected, the delivery record succeeds, and the real destination receives the message.
Maintenance and security
- Node data lives under
/opt/channelflow-node; do not copy it to another server. - Never place control-plane database passwords, Kafka addresses, encryption keys, or another user's credentials on the node.
- The delivery container on your node holds only a platform-issued delivery credential and can only claim deliveries for this node's instances. It contains no database passwords, encryption keys, or other user credentials.
- Disabling the node interrupts its communication and can affect its instances. Schedule a maintenance window first.
- An expired paid plan disables the private node. After renewal, recheck both node and instance status.
- The installer is for first enrollment or recovery on the same host. It does not automatically upgrade installed nodes or migrate instances.
If the long-term local credential is lost after enrollment, stop the old Agent and contact ChannelFlow support. Do not clone one node identity onto a second server.